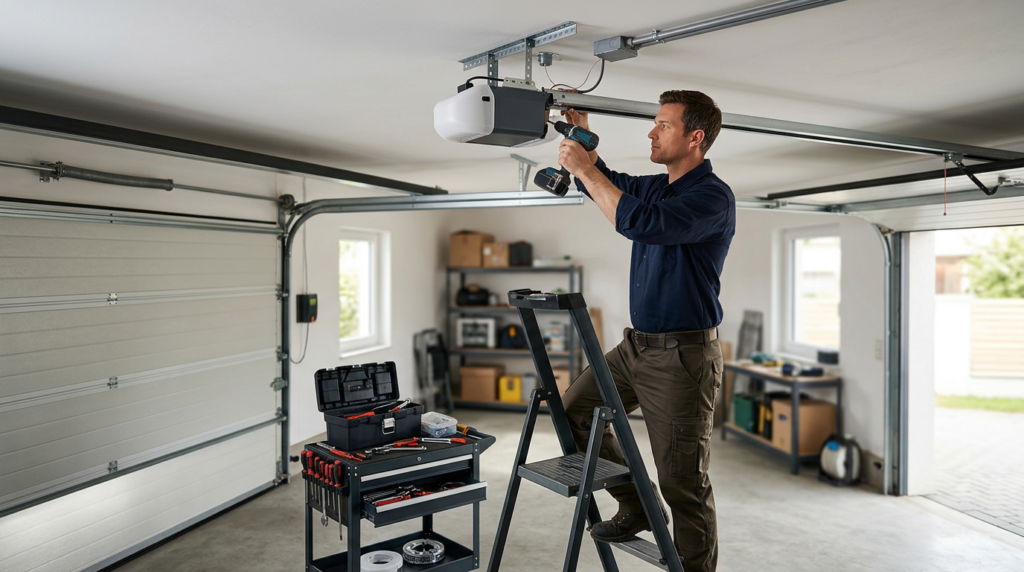
Quick answer: The price for garage door opener installation usually includes removing the old unit (if needed), mounting the new opener, connecting the rail and door arm, wiring the wall control and safety sensors, setting travel/force limits, and testing. Your total can change based on opener type, door size/weight, whether new wiring or reinforcement is needed, and any repairs discovered during setup.
What You’re Paying For in a Standard Install
Typical market ranges: labor-only installation (you supply the opener) often runs about $150–$400; an opener + installation bundle commonly lands around $300–$900 depending on opener type and features; and add-ons are frequently priced separately—adding a nearby outlet may be roughly $150–$500+, a door reinforcement bracket about $25–$150, and a rail extension for tall doors around $30–$150 (parts and labor vary by setup).
A basic opener install is more than hanging a motor. A technician typically mounts the opener to the ceiling, installs the rail and trolley, connects the door arm, aligns and wires the photo-eye safety sensors, installs the wall button, programs remotes/keypad, then sets travel limits and force so the door stops correctly and reverses when it should. That setup and safety testing is what you’re really buying.
If you’re comparing quotes, look for clear language about what’s included—especially removal of an old opener, disposal, and final testing. This is where the price for opener installation can look similar on paper but differ in what you actually get at the end of the visit.
Also ask whether the quote assumes an existing outlet in the right spot and a solid mounting surface. Many garages need a little extra bracing or a new outlet depending on the existing wiring and local electrical requirements, and skipping that can lead to vibration, nuisance reversing, or loose mounting over time.
What Can Raise the Cost (And Why It’s Not Always a Rip-Off)
Extra charges are most common when the door itself needs attention. An opener should not be used to “muscle” a heavy or binding door. If the door is hard to lift by hand, the springs may be out of balance, rollers may be worn, or the track may be misaligned. Fixing that first protects the new opener and prevents the door from slamming or reversing unexpectedly.
Hardware and compatibility issues also come up. Older doors sometimes need a reinforcement bracket at the top section so the opener arm doesn’t crack the panel. Very tall doors may require a rail extension. If you’re switching to a wall-mount (jackshaft) opener, you may need additional clearance, a compatible torsion shaft setup, and sometimes a different cable drum arrangement.
Electrical add-ons can change the scope too: adding a new ceiling outlet, hardwiring instead of using a plug, or replacing damaged low-voltage wiring to the wall control and sensors. Those aren’t “opener” parts, but they affect a safe, reliable install.
How to Compare Quotes Like a Homeowner (Not a Technician)
Ask each company to spell out: the opener model line (belt/chain/screw or wall-mount), horsepower/torque class, warranty terms for the opener and for labor, and whether they’ll balance-check the door before setting force limits. A good quote also specifies new remotes, keypad (if included), and whether they’ll reuse existing controls.
Pay attention to the safety details. The photo-eyes should be mounted low and aligned, the door should reverse when it hits an obstruction, and the opener shouldn’t “slam” the door shut. If a quote is much cheaper, it may be skipping the time-consuming steps: reinforcement, proper hanging angle iron, tidy wiring, and careful limit/force calibration.
Quote checklist (and red flags):
Ask for: written scope, removal/disposal of the old opener, door balance check, photo-eye alignment, force-limit and reversal testing, and a breakdown of add-ons (outlet, reinforcement, rail extension) if needed.
Red flags: no mention of force-limit testing, no photo-eye alignment, “we don’t dispose of old units,” or skipping a door balance check before setting the opener’s force.
If you want quieter operation, a belt-drive opener and new nylon rollers often make a bigger difference than any “quiet” marketing label. If you want reliability in cold weather, a chain drive can be a solid choice, but it may be louder. Matching the opener to your door weight and usage matters more than chasing the biggest motor.
When to Replace the Opener vs. Repair It
Replacement makes sense when the unit is very old, lacks modern safety features, or has repeated failures like stripped gears, intermittent logic board issues, or a motor that hums without moving the door. If the opener struggles only sometimes, the real culprit is often the door balance or a binding track.
Repair can be reasonable when the issue is isolated: a broken gear kit, a worn sprocket, a bad capacitor, or misaligned sensors. If the opener is otherwise compatible with modern remotes and has a solid track record, fixing one part can buy you time.
A qualified garage door technician can inspect door balance and opener compatibility before installation. For help in your area, you can contact AA Garage Door.